Sunday, August 8, 2010

One Pattern....


Remember the Summer Dress post? This is that same pattern, McCall's M6023. I altered the front yolk of the dress. Fabric is a Linen Look. It's heavy and looks more like linen than a blend. AND it was a $1/yard!
I love finding really nice fabric in the Wal-Mart dollar bin. Sometimes I wonder who is pricing these bolts and if they are putting the right bolts in the right place =)
Total price for the dresses, $2 each! Check out Silia's post for her Wal-Mart fabric finds! I love seeing and getting inspiration from what others are creating! I especially have a love for Polynesian handcrafts. Islanders have always been known for their creativity and resourcefulness. One of my newest favorites is Motuliki Create she has some adorable magnet boards and a great tutorial on how to make a really cute candy lei. Check these ladies out!

Besides blog surfing, I need to play catch up but here's a little teaser for an upcoming post.

Friday, July 30, 2010

Watch out now......


It's been a while since I've posted here in the Little Hula Girl. Its been a super busy summer but you always have to make time for a craft right??
Anyhow, I'm sure a lot of you have seen the "interchangeable beaded watch band" craze that has hit Utah. I am always for entrepreneurship and using your talents to pay some bills. But honestly, some of these women are charging outrageous prices just on beads, 4 clasps, and cording. Last November at GNO, I taught my girl friends how to make these "beaded" delights. I love that each band is unique to the maker. And your personality shows through. Some bands were sophisticated, or spunky, colorful, eclectic, modern and earthy. All depends on you. So today I'm giving instructions on the beaded watch band. I should warn you, this can be addicting. So consider yourself warned!


Supplies:

  • Beads
  • 4 lobster clasp
  • 2 spacers/links
  • Watch face
  • Stretch beading cord
  • Scissors
  • Bead board/Felt square.
  • Super glue
1- Pick out your beads. You can buy them at Wal-Mart, Micheal's, JoAnn's, or a specialty store like the Bead Fairy.

2-Using a soft measuring tape measure your wrist. Add 1/2 inch to your measurement for a little extra room on your band and room for the beads. Minus 1 1/2 inches from your above measurement for the watch face, if that's the size you are using. Now you know what your measurement is for the watch band.

Here's an equation that might make it easier
(wr=wrist measurement, wa=watch measurement)
wr + .5 - wa = your watch band size (WBS)

Take the watch band size and
wbs x 2 = how much stretch elastic cord required for the watch band.

3-Cut the elastic cord the measurement figured out in step 2. You might want to add a few extra inches so that you have room to tie knots in the end

4-On a piece of felt or bead board, place your beads in the order that you would like them to be stranded. Make sure to place 1 lobster clasp at each of the 4 corners *tip*make sure when beading the lobster clasp that if you bead them facing up, all 4 have to face up. If you bead them facing down, all 4 have to face down Also do NOT forget the spacers!!

5-Place tape at one end of your elastic stretch cord. This helps so when you are beading it they will not fall off.

6-Start somewhere in the middle of the beads that are placed on your felt piece. Preferably by a big bead, that way you can hide your knot in that bead. Never start on a bead that is next to a lobster clasp. String all the beads onto your stretch elastic cord.

After the beads are strung on, then place another piece of tape at the other end of the cord.

Measure it on your wrist with your watch attached. If it does not fit right then remove or add beads to make it the right size.

7-Now that the band is the right size, tie it as tight as possible in a square knot. *Square knot* right over left (strings) then left over right. Put on a dab of super glue or some other glue that is equivalent. Then do one more tie (right over left) for good luck.

Hold the knots tight for a minute or two to allow the glue to dry. You can always add another drop of glue to seal the deal.

Trim the ends of the string and pull the knot into the big bead.

And you are done!! Now pat yourself on the back! Hooray!


Wednesday, June 16, 2010

1.25 TIES.... oh my!

T ies... ties.. TIES!
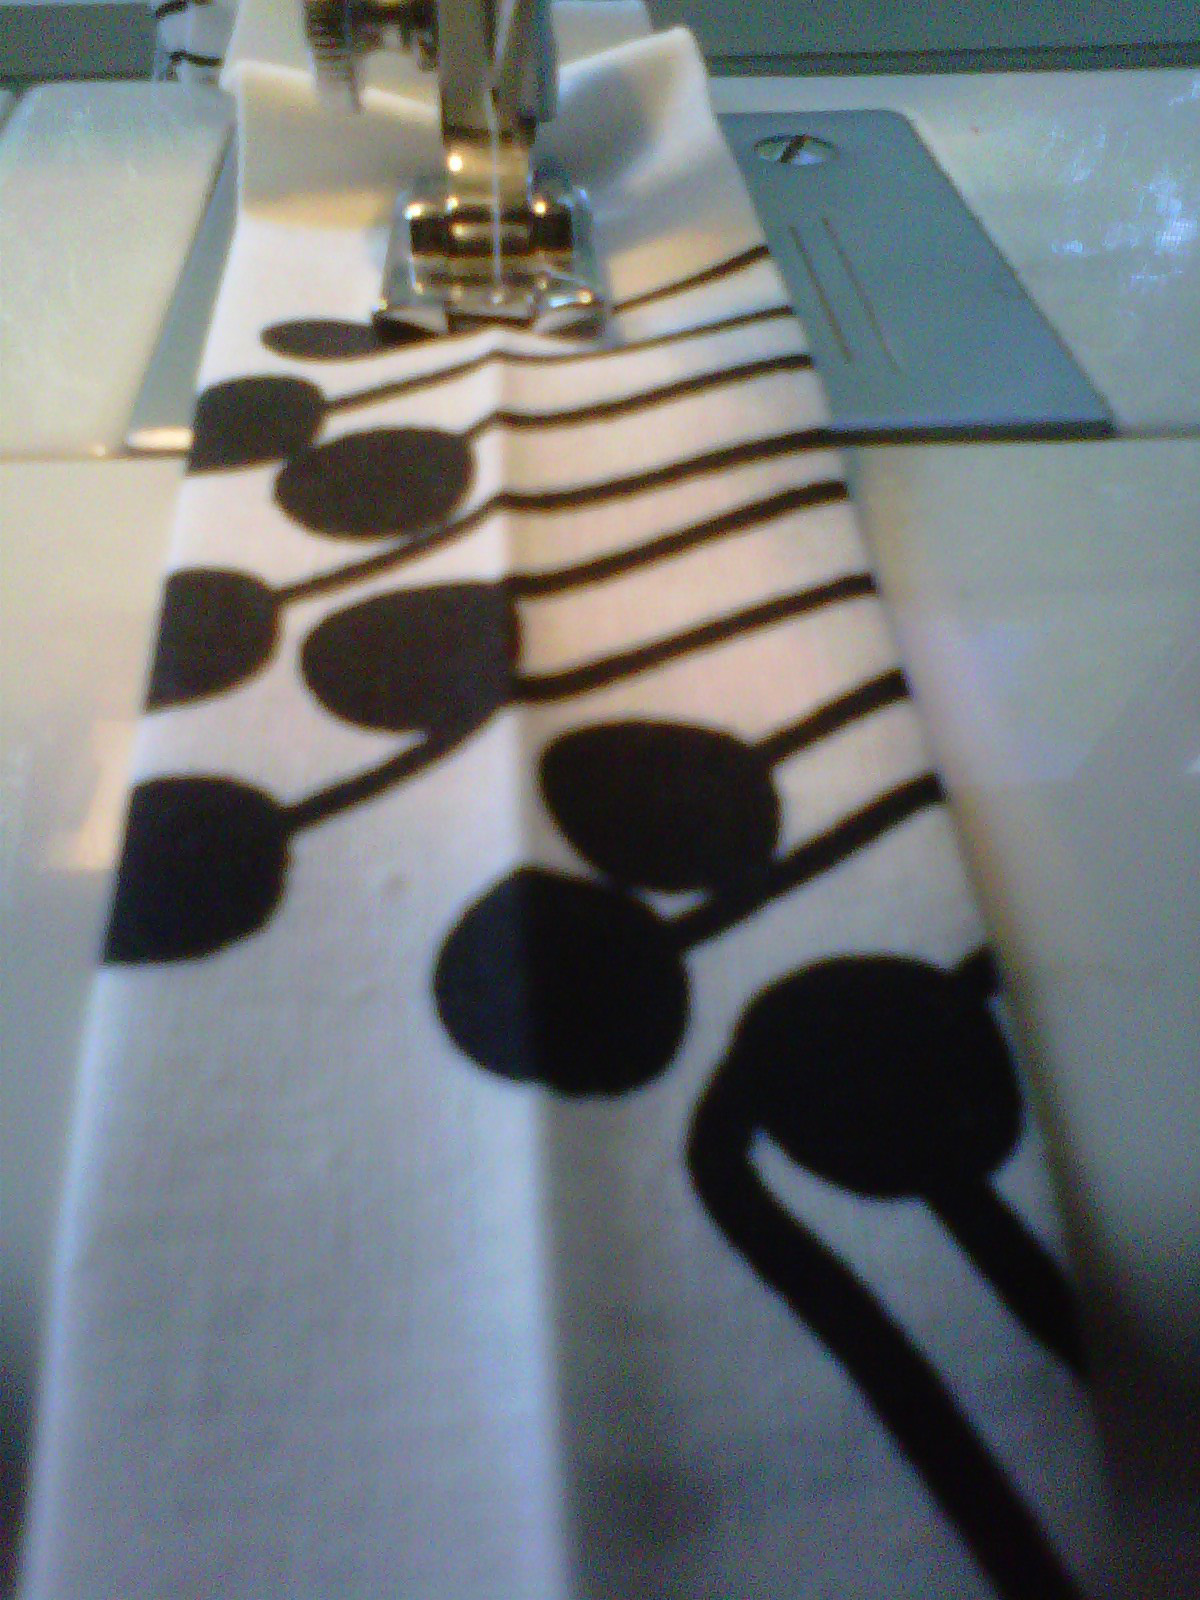
I made a trip to JoAnns to pick up some fabric and a couple of patterns. All of the McCall patterns were $1.99! Although I had already seen a cool tutorial on Threadbangers(check them out on youtube) I had to get a pattern so my cuts were straight. In the above mentioned tutorial it stated that it would take 2-3 hours per tie. I laughed at that remark. But 3 hours later... I was no longer laughing.


I used the tie pattern but adjusted it a bit. This pattern was for a skinny tie. I don't like skinny ties. So I cut it wider and followed the tutorial.

At $2/yard and the pattern calling for 5/8. I was able to make 2(one size 10-12 and one size 4-5) for a mere $1.25.

Saturday, June 5, 2010

Summer dress

Have you noticed how short the dresses are getting? I went to a high school graduation and saw some really cute vintage look dresses. Only problem.. the length. I don't think shortening the length to the butt cheek line makes it any cuter. Sadly, the dresses for my hula girls age group, has shortened in length also. So, we picked a pattern, pictured below.


And even this dress was much too short for me. That is the great thing about sewing, you can make adjustments.


We added a flower.


And this is the finished dress.


Throw a bolero or cardigan on and they are ready for church.

Saturday, May 29, 2010

Pillow Redo

M y hula girl has these two pillows that really needed to be recovered. I know that for some, they don't look too bad, that animal print is haute(hot) but I just needed something different.


That is what we started with. I wasn't sure if it was a pillow or stuffing so we took it apart.

We used the old pillow cover as our pattern and cut out our fabric.
The fabric I purchased at Ikea about a year ago and it just sat on my shelf.
I wanted to make it girly so I added a ruffled flower. I'm going to add these
instructions only because the first time I made ruffles it was stress and then I
found an easier way. You start with a piece of fabric 3 inches wide and as long as you need.


Then fold in half length wise and iron.


Fold sides to meet in the middle and iron.


This is what it should look like


Flip over and sew a straight stitch down the middle


Tie top and bottom thread on one end together. On the opposite end pull top thread to start to ruffle.


Then press and sew starting with center of flower working your way out.


Sew the edges of the pillow together leaving an opening so you can flip it inside out. Stuff and then either hand sew or machine stitch the opening closed.


The completed pillow.


With the other pillow I simply cut out the flowers from the left over fabric for the dress(next post) I made for my other hula girl.


and stitched them on to the pillow.


Happy sewing!!


Thursday, May 27, 2010

Old Navy Jumper Pattern

T his was a trial and error project. My daughter has a Old Navy jumper that she loves! The dress is simple and cute. I mentioned in my other blog that I haven't taken any sewing classes. The extent of my sewing has been my mom's assistant. When I started, I was shocked that I actually learned something from sitting and helping my mom out with little things. Her advise has always been, if you want to learn how to sew something, take it apart. I could not do that with this dress, or I'd have one unhappy hula girl :)


The dress is really simple. It is only 3 pieces and then then straps. Now that's my kind of dress! My lil hula girl decided that she wanted some flowers, so we added one.

What are some of your favorite dress styles?

Have you thought of taking a sewing class?


giveaways


Monday, May 24, 2010

You Can Do It

Re-finishing furniture. Yes, weird, I know. When I walk into a local DI or any second hand store, you can be assured that the words "You can redo that" or "That's PERFECT!... only if you do.." will come out of my mouth. It's been that way for as long as I can remember.
My parents have always encouraged me by allowing me use my "creativity" with their home lol... even if it ended up costing some serious dough. When I was younger, I enjoyed it because I got to create, express myself and be me. Now that I'm older, I enjoy it because it's my outlet, and the real plus, is I get to spend time with my mom. My mom and I share that bond when it comes to creating things with your own hands. She and I are similar in that, when we see something we REALLY like, we find ways to do it ourselves. I know it's not Mother's Day yet... but I've just been filled with so much love and appreciation for the woman I call mom. My mom is a self taught seamstress, she can sew with or without a pattern. From experience... sewing without a pattern takes some skills! Skills I have NOT developed. She is a beader, a crafter, a quilter, creative, loving, beautiful, smart, funny, giving.. the list goes on and on. I love my mom and am truely grateful for EVERYTHING she does. I don't think I tell her enough that I love and appreciate her. But I hope my little crazy projects in her home will remind her of me and let her know just how much I ADORE her!


Now to the project lol!


Spring cleaning at my mon's consists of painting and redecorating. Her birthday fell on Sunday and so the project to redo the living room and kitchen began. When she originaly got this dining set the seats were white. I recovered them with the fabric you see on them now to match her decor. Now we've changed the paint color and curtains so I decided.. lets redo the dining set completely.
So I started by cleaning off each chair with soap and water. I didn't sand these down because the wood in still in great condition.
I primed.


painted


then glazed


I really like the look of darker wood.

Before and... almost after! I still need to change the fabric seat.

I'll post a pic of the completed project.