Saturday, May 29, 2010

Pillow Redo

M y hula girl has these two pillows that really needed to be recovered. I know that for some, they don't look too bad, that animal print is haute(hot) but I just needed something different.


That is what we started with. I wasn't sure if it was a pillow or stuffing so we took it apart.

We used the old pillow cover as our pattern and cut out our fabric.
The fabric I purchased at Ikea about a year ago and it just sat on my shelf.
I wanted to make it girly so I added a ruffled flower. I'm going to add these
instructions only because the first time I made ruffles it was stress and then I
found an easier way. You start with a piece of fabric 3 inches wide and as long as you need.


Then fold in half length wise and iron.


Fold sides to meet in the middle and iron.


This is what it should look like


Flip over and sew a straight stitch down the middle


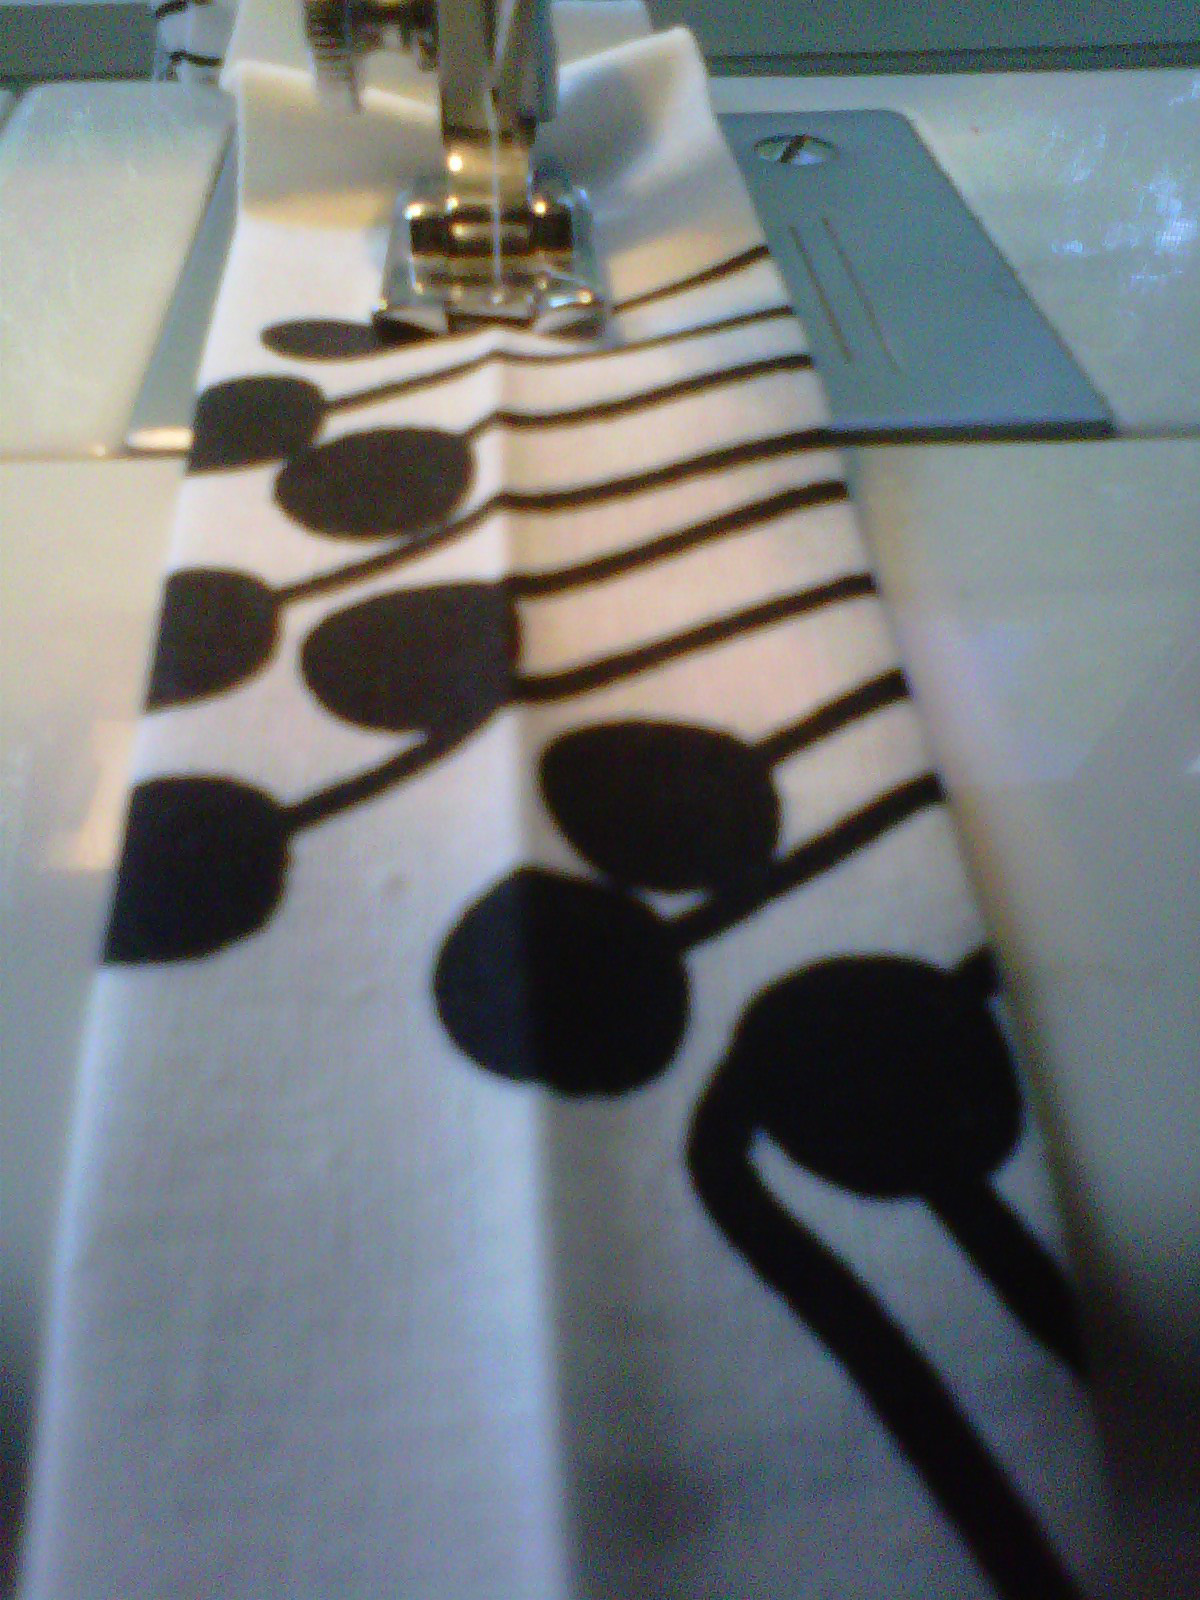
Tie top and bottom thread on one end together. On the opposite end pull top thread to start to ruffle.


Then press and sew starting with center of flower working your way out.


Sew the edges of the pillow together leaving an opening so you can flip it inside out. Stuff and then either hand sew or machine stitch the opening closed.


The completed pillow.


With the other pillow I simply cut out the flowers from the left over fabric for the dress(next post) I made for my other hula girl.


and stitched them on to the pillow.


Happy sewing!!


Thursday, May 27, 2010

Old Navy Jumper Pattern

T his was a trial and error project. My daughter has a Old Navy jumper that she loves! The dress is simple and cute. I mentioned in my other blog that I haven't taken any sewing classes. The extent of my sewing has been my mom's assistant. When I started, I was shocked that I actually learned something from sitting and helping my mom out with little things. Her advise has always been, if you want to learn how to sew something, take it apart. I could not do that with this dress, or I'd have one unhappy hula girl :)


The dress is really simple. It is only 3 pieces and then then straps. Now that's my kind of dress! My lil hula girl decided that she wanted some flowers, so we added one.

What are some of your favorite dress styles?

Have you thought of taking a sewing class?


giveaways


Monday, May 24, 2010

You Can Do It

Re-finishing furniture. Yes, weird, I know. When I walk into a local DI or any second hand store, you can be assured that the words "You can redo that" or "That's PERFECT!... only if you do.." will come out of my mouth. It's been that way for as long as I can remember.
My parents have always encouraged me by allowing me use my "creativity" with their home lol... even if it ended up costing some serious dough. When I was younger, I enjoyed it because I got to create, express myself and be me. Now that I'm older, I enjoy it because it's my outlet, and the real plus, is I get to spend time with my mom. My mom and I share that bond when it comes to creating things with your own hands. She and I are similar in that, when we see something we REALLY like, we find ways to do it ourselves. I know it's not Mother's Day yet... but I've just been filled with so much love and appreciation for the woman I call mom. My mom is a self taught seamstress, she can sew with or without a pattern. From experience... sewing without a pattern takes some skills! Skills I have NOT developed. She is a beader, a crafter, a quilter, creative, loving, beautiful, smart, funny, giving.. the list goes on and on. I love my mom and am truely grateful for EVERYTHING she does. I don't think I tell her enough that I love and appreciate her. But I hope my little crazy projects in her home will remind her of me and let her know just how much I ADORE her!


Now to the project lol!


Spring cleaning at my mon's consists of painting and redecorating. Her birthday fell on Sunday and so the project to redo the living room and kitchen began. When she originaly got this dining set the seats were white. I recovered them with the fabric you see on them now to match her decor. Now we've changed the paint color and curtains so I decided.. lets redo the dining set completely.
So I started by cleaning off each chair with soap and water. I didn't sand these down because the wood in still in great condition.
I primed.


painted


then glazed


I really like the look of darker wood.

Before and... almost after! I still need to change the fabric seat.

I'll post a pic of the completed project.

Painted Mirror

After hours of trying to put my blog together, I finally gave up. And then realized, I didn't blog, which was the main reason I logged on in the first place. With this freakishly weird weather we are having, my older 4 are in school and my younger 2 are still snuggled in their beds. Cold weather and these over energized kids of mine, don't get along.

So on to my post. This mirror is one in a set of 9. It was one of the first DIY projects that the Mr and I jumped into. I think it was back in 2003 and I was so taken by Christopher Lowell and all his DIY projects that he made look so easy peasy. About 30 minutes into this mirror project and I was ready to crack... literally. Luckily for me, the Mr is used to me getting frustrated half way through projects because I can be a bit picky when it comes to my own work. He finished the half that I no longer had the patience for. I was assigned painting duty for the rest of the evening. Anyhow. This is the mirror we started with. The vinyl was added a couple of years ago. Anyone that knows me.. knows how much I L.O.V.E that stuff! And since we're talking about vinyl, I have to add,
Silly Vinyl Design has some really great ideas on her blog and some really great prices. So check her out!


Sorry for the terrible picture.

I taped wax paper over the mirror to avoid getting spray paint on it. but if you do happen to get some residue you can use a little water and a razor blade to get it off. I sprayed it with


Let it dry for an hour and then rubbed some black paint to give it some character. And this is the finished product.

Happy Monday!


Wednesday, May 19, 2010

Altered Pattern

This is the pattern we started with. My girls love anything Hannah Montana. Although I didn't really like any of the styles on this pattern, I did kinda, sort of, like the dress and thought I could just change it up a bit. This is the dress that we chose, and the alterations I made to the pattern.
And here is the finished product! It actually took my a couple of hours to do. I had to try and figure out how to put the yoke(top middle part) together and then the ruffles took me FORE-V-E-R. And I added some ties to the side. But I'm happy with the finished product! This was my "practice" dress and I just used some leftover fabric from my mom. Thanks mom!

Monday, May 17, 2010

Cake Mix Cookies


For FHE we select one of the older children to conduct and be in charge of dessert. So when we go over our weekly menu they have to know what they want to make. This started out with simple desserts, and now, I think my children need a reality check. They need to realize that I am NOT a pastry chef. And that these wonderful concoctions that they see on Food Network and my favorite baking sites are out of my league! Crazy kids! So this Monday they requested that we make, not buy, ice cream sandwiches. Luckily for them I have a quick and easy recipe or else they would get the "mom doesn't know how to make that" lecture, again. lol. So for you mothers out there that are facing the same dilemma, here's a recipe!


Ingredients:
1 cake mix(any flavor)
1/2 cup of melted butter
1 egg


Preheat oven to 350 degrees. In a large bowl, combine all ingredients at low speed until dry ingredients are moistened and dough is thoroughly mixed. Drop dough by rounded tablespoonfuls 2" apart onto an ungreased cookie sheet. Bake at 350 for 9-12 minutes. Cool two minutes on cookie sheets, then remove to wire racks to cool.


Then just add a scoop of your favorite ice cream. Some of our favorites are devils food cake and vanilla or strawberry OR rocky road ice cream. Yum!

Wednesday, May 12, 2010

Jewelry Tree/Accesory Tree

Plato said that necessity is the mother of invention.. well this isn't really an invention, more like a necessity! Ha!
My girls have reached that age where they aren't really into the clippy thing. They are more into headbands, and ribbons. So this
would be mostly useless to them. They needed something that could pull double duty for hair accessories and jewelry. I don't know why the word jewelry sounded so grown up. Not just to me, they thought it did too. Especially when I suggested a jewelry tree. As if that weren't bad enough, I showed them a picture and their facial expressions said it all. "Ewwww mom... what is that!"
So I had to come up with something so I could redeem myself. I had to try and melded the two above into one and it had to be appealing to my little (picky) girls.
And that is how The Accessory Tree was born! Or grown?! Yeah. I know. The name is sooo not the business. Oh well. I hope you like it as much as they did.


We started off with a 2x3 piece of mdf and the MR had it cut down to size.

Then we spray painted it with Krylon Ocean Breeze.


So this is the surface we started with

then we added the vinyl which I purchased at JoAnn's and got 50% off.


Then added the drawer pulls as hangers.

I have yet to add a couple more on the tree and then a row at the base of the tree.
And TADA!! This is the final product!

*DISCLAIMER* The picture is of poor quality due to the inhalation of the spray paint fumes... please pardon the semi crooked picture.